Freelensing

The Timeless Blog

It has been a while, over a year in fact since my last blog post where I was rambling on about data recovery software. My other passion in life is illustration, creating my own imaginary worlds and this took precedent however I was almost too absorbed into this and had to remember that I also live in the real world. A real world which I very much enjoy documenting. So now I have put my imaginary world aside, ordered some new kit (lenses to be exact) and have been out and about with my camera again.

Basically, all lenses in all cameras are mostly parallel to the imaging sensor, the light sensitive bit of the camera that translates the light data into an image. Freelensing (and the tilt shift lens) follow the practice of not having a lens parallel to the sensor, creating very interesting shots where one half of the frame is in focus and the other isn’t. How this translates in reality is simple – I detach the lens from a DSLR camera and gently tilt it in different directions. It is basically a very cheap and creative way of using a tilt shift lens. A tilt shift lens is something that I have always wanted to buy however it is very low down the list for essential equipment for my events photography business. I have looked at videos on YouTube where people have used this Freelensing technique and all seem to agree that a 50mm lens is the place to start from. A lot of the images using this technique are stunning, one of my favourites is this image by a photographer called Hannah Donovan who created this ethereal image of a family on the beach pictured below. Of course I grabbed my lens and started to have some fun.

https://www.theclickcommunity.com/blog/the-art-of-freelensing-a-step-by-step-guide/

The first time I tried this, I found myself fumbling with my camera and holding my phone at the same time, clumsily looking for the instructions that other bloggers have followed online to do this technique. The first results I got were so poor with images that were blown out/ totally out of focus that my confidence was knocked and I didn’t know what I was doing wrong. There are a lot of ‘Freelensers’ who have used a Nikon 50mm lens because they can be deconstructed in such a way that the rear element (lens part closest to the sensor) protrudes out from the lens body. I have a Canon 50mm f1.4 USM which is very different to the deconstructed Nikon featured in other blogs because the rear element is flat with the lens flange. With this technique you put the focus into manual mode and set it to infinity, giving the maximum depth of field possible because the focus is now controlled by moving the lens independently to the camera.

The first freelens shot I took that I was happy with.

The first time I tried this technique I produced images that are too embarrassing to put on this blog however photography is all about experimentation so this is why I included the first freelens shot that I was happier with above. I really enjoy the line of focus that slices through the blur. The trick with this technique is getting used to the micro movements of the lens within its housing. Various blogs mention light leaks, however if I tilt the lens far enough to allow light leaks, the image is totally out of focus. This is because I am technically using an 80 mm lens due to the fact that I use a crop sensor. However when I am very forensic and slight with my movements of the lens, I get results that I am very happy with such as those below.

I like this shot because it makes it feel likes the background is pulling the cyclist forward, a different way of showing movement.

This renewed interest in photography is really helping me to appreciate living in a city which is rich in diversity and beautiful landmarks. Below is a shot of tower bridge where I want to emphasise the tower closest to me.

Tower Bridge.

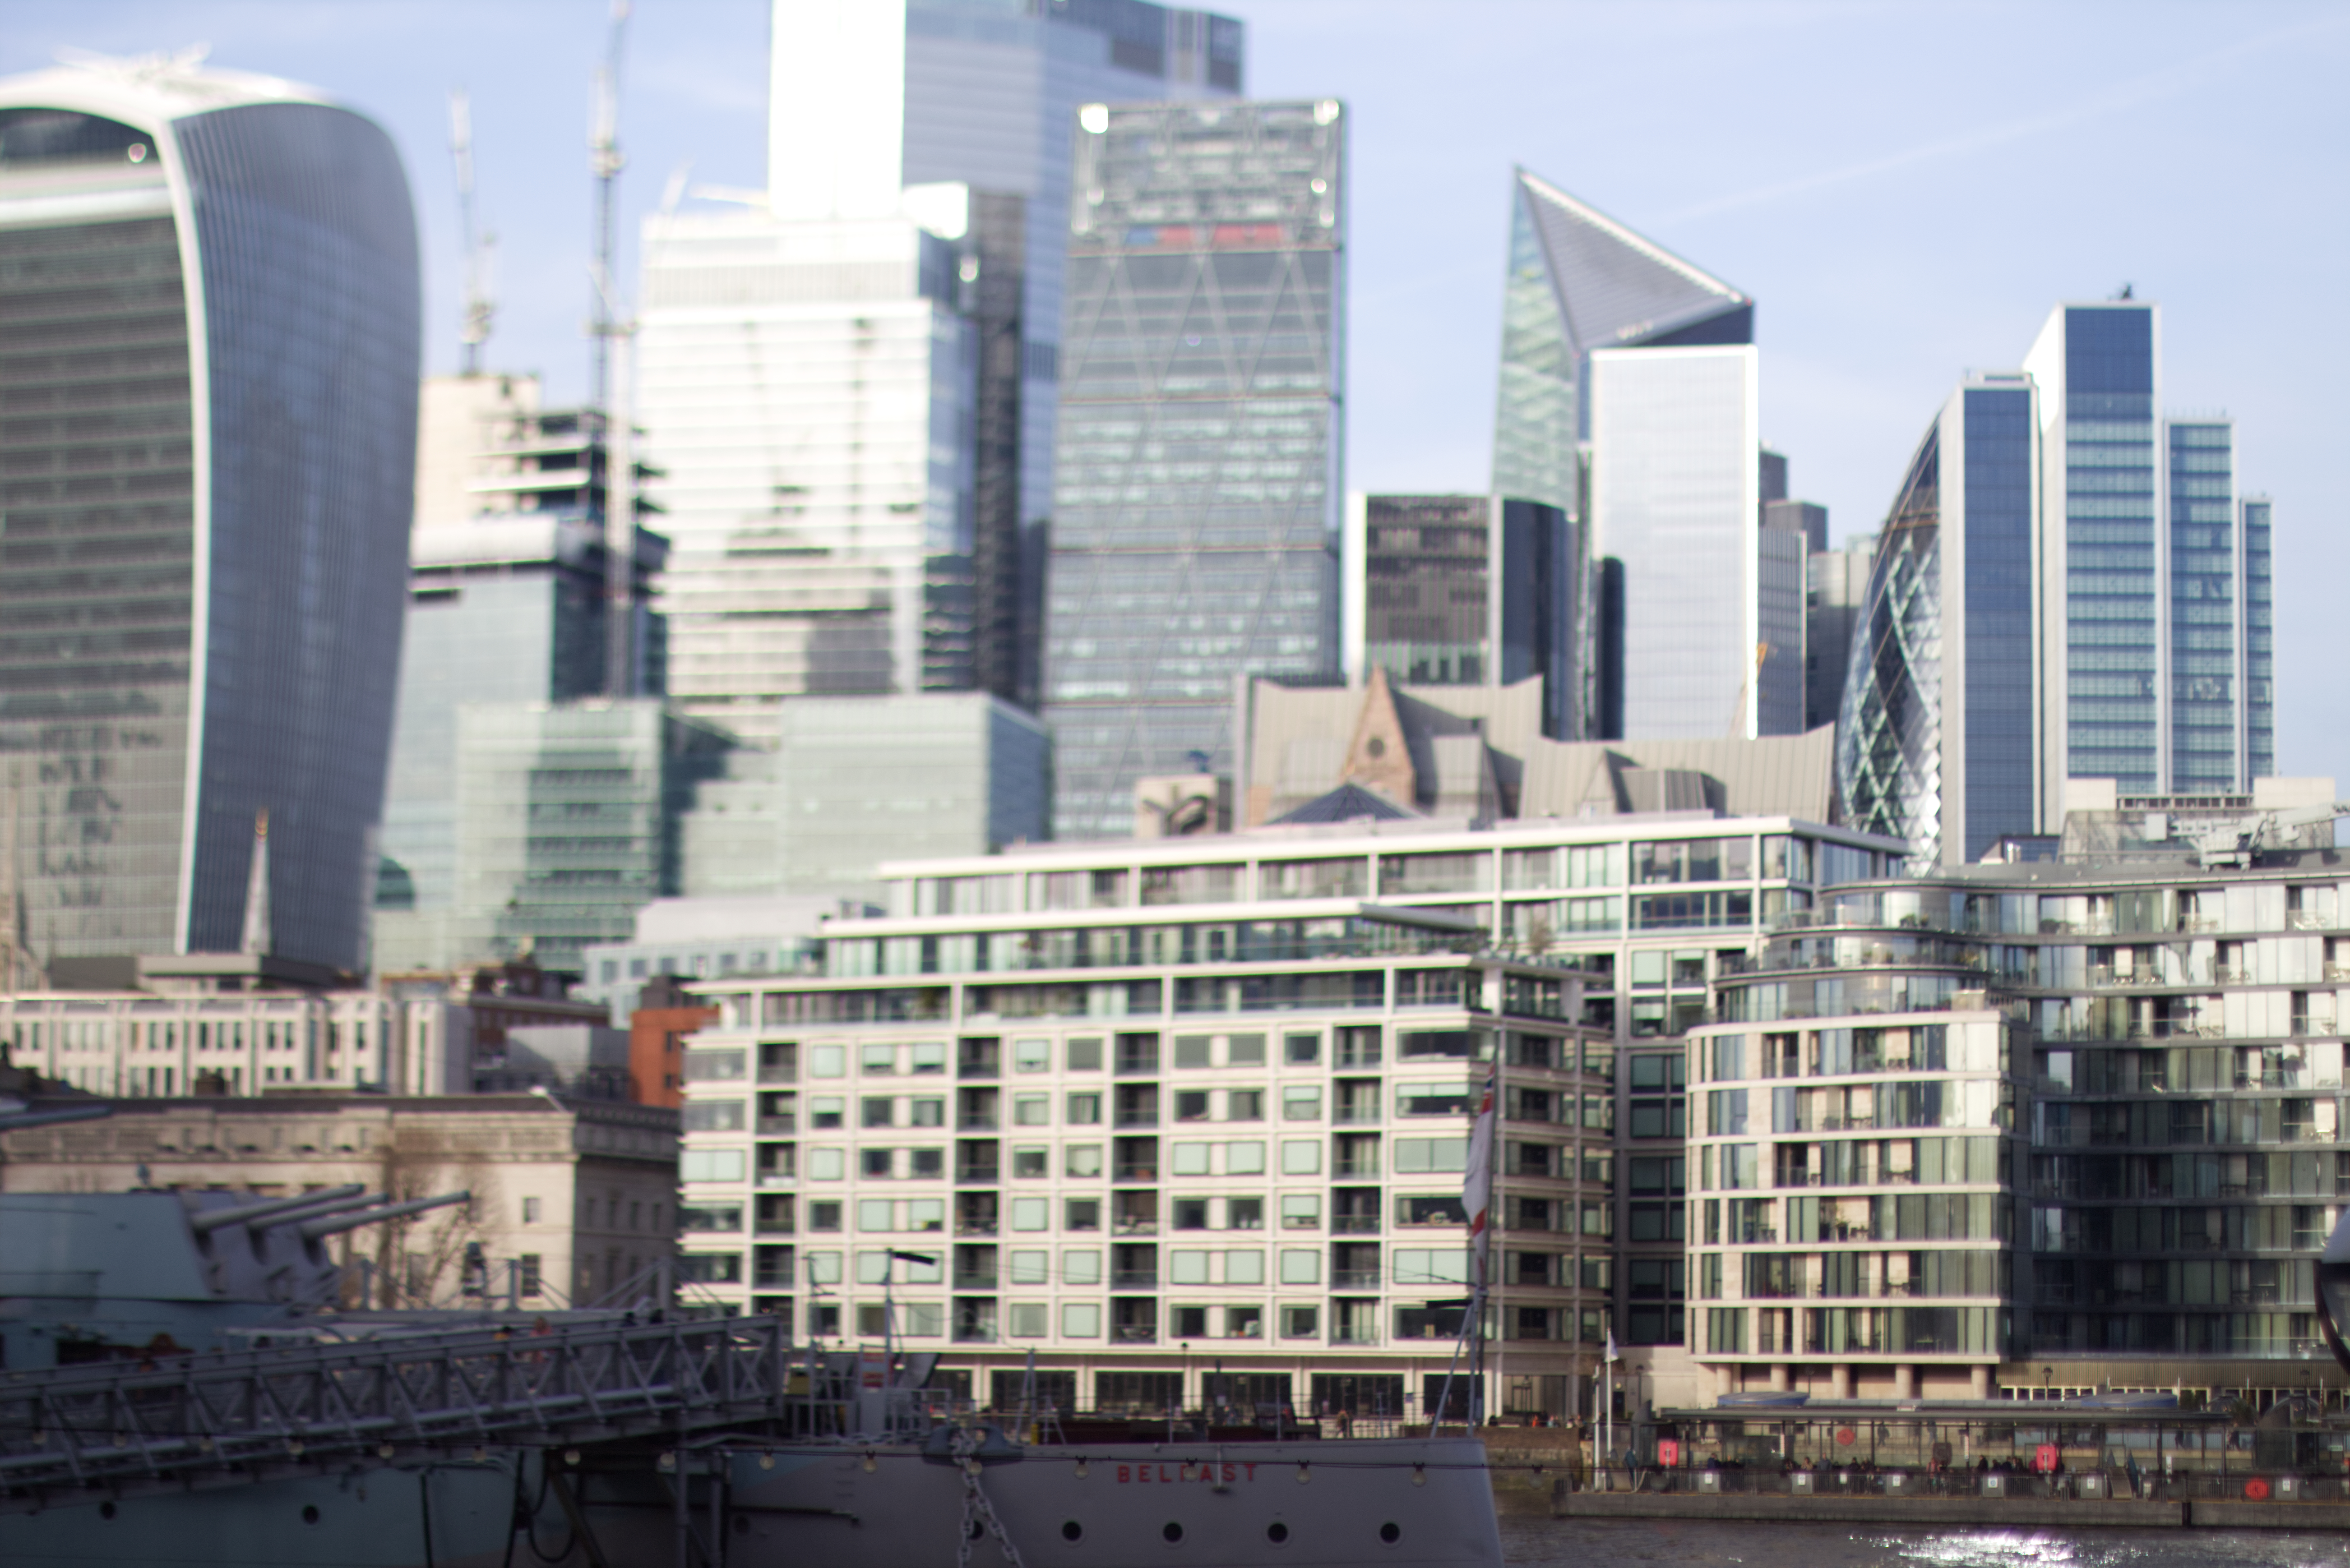
The challenge with this way of shooting is that you really have to fire off the shutter multiple times to get the sharpest image that you can get as the lens is totally disconnected from the body of the camera so there is no communication. I act as the sole conduit between lens and camera body. The image below is an experiment I made where I filled the frame with as much as possible and this is where I really feel freelensing pops as a technique.

Random apartments and the city beyond.

So this is definitely one of those fun ways to photograph that makes me simply love my DSLR. I would never use a mirrorless for this technique because the little mirror that flips in a DSLR acts as sort of barrier between the delicate sensor and the gaping hole in the camera where the lens normally sits flush. There is more chance of dust colliding with the sensor if the camera was mirrorless because the sensor is so close to the opening of the camera body.

This is a technique that will be another feather in my photographic cap so to speak. I feel so thankful for those people who have written about it because these are images that really make me feel excited about photography, that make me feel the urge to get the camera and go out on my bicycle and let London and its charms swallow me up through the opening of my camera.

Why you should take Pre-Wedding “Getting Ready” Photographs

The Timeless Blog, wedding photography
Vintage bridal bouquet & Shoes on a mosaic floor

As anyone who has got married before will tell you, the most important part of the day might be the part where you say “I do”, but there is so much more to a wedding than that. In fact, despite the day being about the joining of two people, there are usually large chunks of the day where you don’t see your future spouse at all, such as during the ‘getting ready’ process. 

If you’re doing the super traditional thing of sleeping apart and not seeing each other until you get to the altar, having your photographers present will mean that you don’t miss those special moments that happen when you’re apart. Here are some more reasons for starting the photography at the very beginning of your day:

Telling a Story

As we mentioned above, your wedding day is a sum of many parts and just as you’ll want to take photos at the reception, taking photos while you’re getting ready will help you to tell the story from beginning to end. 

When you look back on your images in the days and weeks after the wedding, being able to see both nearly-weds going through the process of getting ready, getting into their finery and spending the time with their parents, bridesmaids or groomsmen will give you a complete storyline for the whole day. It will also look fabulous when placed chronologically in your wedding album. 

Capturing Special Moments

Do you remember how it felt to put your wedding dress on? The look on your parents’ faces when they saw you for the first time? The group hug you had with your best friends before they accompanied you down the aisle? Maybe you do, but on a day which is going to be busy and overwhelming, there’s a good chance that you’ll forget one or two of these moments. 

Having your wedding photographer present and taking candid shots while all of these things are happening means that you won’t need to use your memory to remember everything – you’ll have beautiful images to preserve the moments forever. If you also, as we mentioned in our previous post (ADD LINK), give your photographer a face log containing images of your nearest and dearest, you’ll ensure they’re present and alert when you’re interacting with your most important guests. 

Gaining Confidence

There aren’t many people in the world who are used to the feeling of having a photographer following you around and taking photos of you, so it’s likely to feel a little alien on your wedding day, too. 

If you start having photos taken right at the beginning of the day, before you’re even in your ceremonial clothes, there’s a good chance that you’ll feel significantly more comfortable and confident in front of the camera as the day goes on. This will also mean that the quality of your images will probably get better as the day goes on, too, as your photographer and yourself will be a lot more ‘in sync’ with one another. 

Wedding photographers are usually pretty intuitive when it comes to other people, but it still takes time for them to get to know you and your personal quirks, so giving them this kind of “all access pass” to your whole day will give them even more to work with. 

Attention to Detail

Once the ceremony and reception are underway, the opportunities for detailed photos become less and less. Later in the day, there will be guests around and a schedule to stick to, plus group shots to think about. Trust us – you really don’t want to be waiting til you’ve got 150 guests to greet, first dances to perform and many glasses of champagne in your system before you think about photographing small details!

Allowing your photographer to be there while you and your partner are getting ready will mean that images of things like your engagement rings, personalised cufflinks, shoes, intricate dress details and your “something old, something new, something borrowed, something blue” (if you’re having them) are much easier to capture, especially if your photographer needs to set up special lighting or backdrops for the images. 

3 Recommended Poses for Pre-Wedding Bridal Suite

Bride preparation, putting earrings on, smiling and looking at herself in the mirror.

Accessories – take images of your rings, tiara, special jewellery and any other accessories you’re wearing on the day.

Dress – there will be lots of images of you in your dress on the day, but remember to ask your photographer to get up-close images of any details you want to highlight.

Bridal Group – group shots of the bride and her bridal party are something you’ll cherish for years to come. 

3 Poses for Pre-Wedding Photos in Groom’s Suite

Cufflinks – cufflinks are the groom’s equivalent of a tiara, adding a bit of bling to your suit. Ask the photographer to get some up close shots of these on the day.

Groomsmen – getting ready for your big day with your brothers or best friends is something you’ll want to look back on after the day. 

Candid Checks – Getting the photographer to capture your last minute checks, like making sure you’ve got your vows, checking the time on a pocket watch or your best man straightening your bow tie will make for great candid images.